Saturday, 23 February 2013

A Triangular Shawl Blocking Tutorial with Blocking Wires!

As promised, I am going to do a blocking tutorial for a triangular shawl, with lace bottom, using blocking wires!

This shawl was a test-knit for a Ravelry member. All details are on my Ravelry project page, here.

You will need:-
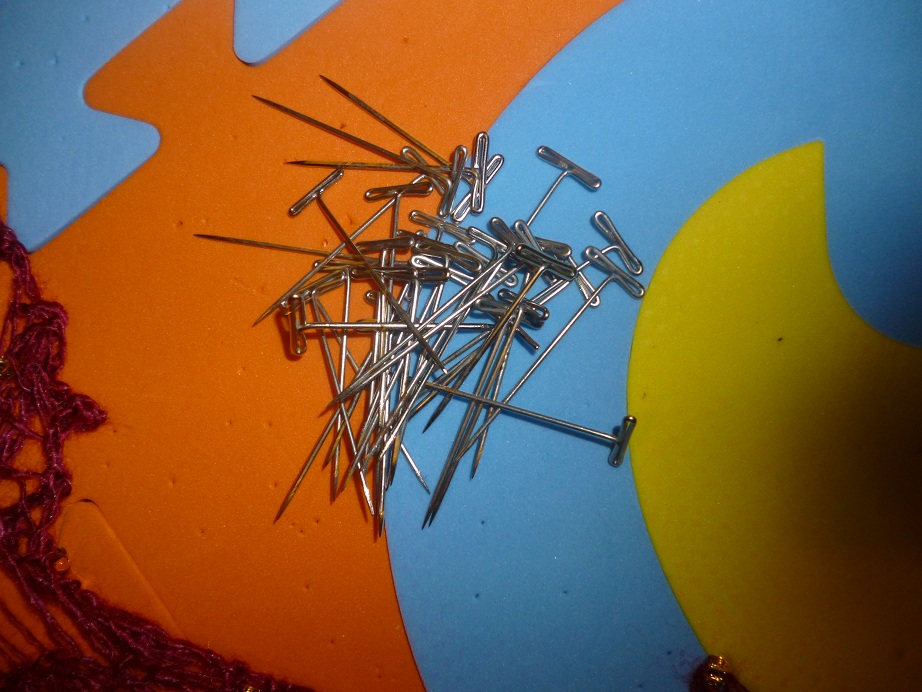
Pins. I use T pins.
A suitable blocking surface. I like these foam mats on my dining table, but some people use a mattress. Either way, I would get foam mats. They hold the pins in firmly.
Blocking Wires. I bought a whole kit from Hulucrafts, because I block a lot of shawls! The wires ARE optional, you could just pin each point out individually, but as I promised a tutorial using blocking wires, I thought I had better use them!


Rightiho!

First up, start as with the semi-circular shawl (and all other projects!) and sort out your blocking surface! I love these foam alphabet boards, they have had many projects pinned to them and aren't falling apart yet!

I lay out my shawl before I soak it, and see what shape it will be, where I will need extra boards etc


Step One! 
We need to get our blocking wire for the top edge. Here, we look at the shape of the shawl above. You can see where the straight edge is across the middle. We will pin the tips on either side of the 'wings' out separately. 

Take your blocking wire, and go over and under each purl-bump on your selvedge. 


 Under


 Over


It will look like this:-


Then use your T-pins to pin it straight.


Step Two:-

Take another blocking wire. Look at your shawl, and then decide where your pointy bits are going. If there are no pointy bits, just a straight edge, then do the same as in Step One along the bottom edges of your shawl. If you aren't sure where to put your points, look at the pictures on the pattern, or other peoples projects if it's on Ravelry.

Once you have decided on your points, then thread the blocking wire firmly through the fabric. Make sure it is through both loops of your cast-off edge, not just one.


Carry on along the edge of your shawl, only putting the wire through the bit you want to be pointy!


Do the same on the other side of your shawl. 

DO NOT pin the wires into place yet.


Step Three:-

Now, you need to pin your bottom centre point, in a straight line from the centre of the top of your shawl. Unfortunately, you can see that I didn't use my metre stick for this on this shawl! Oops. I have a wonky spine! But it's not that noticeable when worn. Anyway, I digress! Pin your bottom point. Then pin each wing tip out.


Now you have two points between which you can place your metre stick (or just straight edge, doesn't need to be a metre stick) and start to pin your blocking wires out!


And Voila! Your pinned-out shawl will look like this!


Step Four:-
When your shawl is dry, unpin it, remove your wires, sew in your ends, and then enjoy wearing your beautifully-blocked shawl!


Thursday, 31 January 2013

Time is flying by too quickly!

I have blinked and another week has passed. I find that time goes far too quickly. It is just one big long round of school runs, feeding children and sleeping! I seem to be unable to really savour the time I spend with the children, we are always en route to something and it's always 'quick quick quick'. 

So when there was snow last week we got a snow day on the Monday (woohoo!!!! I love days off school!) and then on Saturday there was a bit more snow so we went sledging. 2 hours of pure, cold joy! All the snow was gone by Sunday, so that was a shame but I am glad we grabbed that snippet of time where we didn't have to do something else!

I have a few finished objects to show off too!

An Almond Comfit hat, using WoollyWumpkins hand-dyed merino aran yarn


A Rose Red tam using Debbie Bliss Andes yarn


And then I had a dream about spinning and whipped up this lovely Jacob Humbug fibre into a DK weight yarn


And then I rediscovered this beautiful Merino/Silk fibre in my stash and didn't know what to do with it because it has so many little splotches of colour in it. 


It reminds me of the Northern Lights! Anyway, I asked on the UK Spinners group on Ravelry, and the lovely ladies on there encouraged me to just go for it. I messed about with the ratios on my wheel as I was going, I did some at high-speed, some slow, some over-twisted, some barely twisted, and then when I went to ply it I did that unevenly too! The finished yarn is stunning, although my camera just cannot do it justice. I can't wait to knit with it!


Anyway, I hope to finish my Leftie shawlette this weekend. I am also spinning some more fibre, but being more patient with it! Add in dog-walks, toddler duties, reading with children and homework and I will probably forget to write another blog post for at least another week!


Monday, 14 January 2013

A semi-circular lace shawl blocking tutorial.

I can remember when I first started knitting lace shawls. I was only a beginner, I had been knitting basic things, self-taught, for about 9 months. I saw these stunning pieces of work that were so beautiful, and so skilled, and I just knew I had to learn to do that!

I picked Ishbel by Ysolda Teague as my first shawl (link goes to Ravelry pattern page). I lovingly knitted every stitch carefully as it was a gift for my mum. And then it was time to block it. I read things online about blocking, I asked questions, I got all my supplies ready.  I used my spare-bedroom mattress and some t pins. It looked AWFUL!

In hindsight, I think as I was a tight knitter my actual cast off edge was too tight! So my first tip is that if you are a tight knitter, go up a needle size for your cast off at least, or do a stretchier cast off. There are a couple of good articles on the Knitty website, Here, and Here, which show different cast off techniques. For Ishbel, for example, the cast off is the Decrease Bind Off described in the first article. Mine was way too tight! So it's no wonder I couldn't get beautiful points like everybody else.

As I grew more confident with my own knitting, and my own finished object, I grew more confident in my blocking.

I learnt that I actually prefer to block to a pretty hard surface, so I use my dining table. I put foam mats (the ones you can get at toy shops/pound shops etc) on the table, and I pin my work directly to that.

I also learnt to listen to what the shawl wants to do. Yes, blocking is sometimes about encouraging the work to stay somewhere it doesn't want to, but on the whole you need to go with the object!  That sounds very vague, but for example if the tips of your shawl want to curve around (see pics below) you shouldn't try and get them to go straight because that will squish all the detail further down the shawl and it won't look right.

To make points, you usually pick a bit that has yarn-over's around it. That gives the fabric of the shawl more 'ease' and means that it will stretch more. Or, as in the case of my demo-shawl, there are specific pointy bits so it's obvious where to stretch.


Anyway, I will stop waffling on now and get on with my tutorial, which is pic-heavy! If there are any questions, please don't hesitate to ask!

This shawl is an Out of Darkness, by Boo Knits. Link takes you to the Ravelry pattern page. It is made with Solstice Yarns Banshee Tussah Silk Laceweight yarn, which is a heavy laceweight, and because it is silk it holds it's shape very well.

Later in the week, I will to a triangular shawl blocking tutorial, using blocking wires and/or pins.


Step 1:- Set up your table before you wash your shawl!

I find my shawls can dry quite quickly. I set up my DH's gaming boards on the dining room table if I have a particularly large shawl to block, and then pop my foam boards on top. I have made this shawl 3 times before, so I know roughly where to put my foam! I did underestimate and add more later though!


I use mostly T-pins to pin it out, although I do sometimes run out when doing big shawls and picots! So I just use any pins to hand.


Step 2:- I take my shawl and soak it in lukewarm water with Eucalan wash, which you don't need to rinse. I leave it for 5 minutes, squeeze some of the water out gently (depending on the yarn, as some will felt if agitated), and then lie it on a towel. I roll that up and gently squeeze some of the water out of it by squishing it. I do want to keep it quite wet though, as I don't want it to dry before I am finished. I also keep a spray bottle of water nearby so that I can just spray it if it does get dry.


I lay the shawl loosely on the board to see where I need to pin it


Step 3:- Find the centre of the shawl (handily where my cast-on tail is....I NEVER sew ends in before blocking), and then get my metre stick so I can make sure that the top is straight as far as it wants to be.


Then I pin out the top of the shawl that wants to be straight. 


I continue pinning out the top edge. With this shawl, the edges curve right around at the end. I pull the yarn slightly taut as I pin, to ensure that it is stretched and won't come undone as I pin out the bottom edge. Most shawls have a yarn-over selvedge, so I tend to place a pin every two yarn-overs, which will keep that top edge nice and taut, and it won't end up with a pointy top edge. 


Right, top edge is all done!

Now onto pointy bits!

Step 4:- Look at your shawl. If you are unsure of where to place your pins, look at the pattern pictures. There will be clues there. 

With this shawl, we have a hybrid cast off. I have little picots all along, and then dramatic points as well. 

Always start with the dramatic points! Pull them as tight as the yarn will allow. With wool blends, they will often bounce back a little bit. This shawl is pure Tussah Silk, and will stay where you pin it. Always put the pin in at a slight angle away from the shawl, so that it doesn't just slide out again.


When you have pulled all those points, it will look like this:-


Now onto the picots. I always pin mine out. You spend so long doing them, that it really is worth the extra effort to pin each individual one. It really finishes the look of the shawl off. Again, you just pull them slightly to open the lace work above it, and pin. With this shawl, you can see that there are two picots, one either side of the dramatic points, which I pin out first. Then there are 5 or 6 picots between those. I pin the middle one or two, then the ones next to the point's picots, then the ones between them. That just ensures that you place them nicely and they aren't squished up.


Last of all, I pin out the picots along the top curves. They don't have the same pattern as the rest of the shawl, they are all yarn-overs, so there is plenty of stretch there.


And there! All done!! I blocked this one at around 5pm, left it overnight to dry, and it was all ready to be unpinned by 6am the next morning! Obviously, the thicker the yarn, the more water it will hold, so the more you need to squeeze it out, and also it will take longer to dry. It is sometimes worth putting it near a heat source if you can. 

Unpin the shawl, and then sew in your yarn tails.


When it is finished and unpinned, it looks like this. See those lovely crisp picots and points? They hold their shape really well and just look so elegant!


We said goodbye to Naughty Noddy Burger!

On the 24th of December, Naughty Noddy Burger brought the boys a new pair of pyjamas each to wear that night.


Then he sat on the fireplace waiting for Santa to come and pick him up. The boys were all a little sad on Christmas Day morning when they realised he had indeed gone back to the North Pole until December 1st 2013.


Then they opened their presents and poor Naughty Noddy Burger was forgotten about until Boxing Day!


We can't wait for him to visit again though, DS3 has been asking about him the last few days!


Sunday, 23 December 2012

A bit of Elf and bad health!

We have had the flu. All of us! DS2 got it first, for his birthday actually. Then DS3 and DH got it. Then DS1, and now it's my turn! I feel awful! I was already tired from being nursemaid to the smalls so I think it has hit me harder! But fingers crossed I will feel better by Christmas Day!

Anyway, there will now be a mammoth Elf photo post! I can't do fancy montages, so will just do a long list....


On the 14th of December, Naughty Noddy Burger was climbing up the stair garland!


On the 15th of December, Naughty Noddy Burger put the Birthday Bunting up for DS2's Birthday!


On the 16th of December, Naughty Noddy Burger was caught trying to hitch a flight in a helicopter!!


On the 17th of December, Naughty Noddy Burger was trying to steal the leftovers from DS2's Birthday Rainbow Cake!


On the 18th of December, we looked everywhere in the house for Naughty Noddy Burger. But we could not find him! So we went off to school, a bit dejected, and look who we saw on the way there!!!


On the 19th of December, Naughty Noddy Burger wrote the 6 on the 'sleeps till Christmas' countdown sign


On the 20th of December, Naughty Noddy Burger was driving around in a Ben 10 car!!


On the 21st of December, Naughty Noddy Burger stole a candy cane from MY stash of them, and was making his way up the lights to eat it on top of my bookcase!


On the 22nd of December, Naughty Noddy Burger took his stolen candy cane from the 21st, and put it on the Christmas Tree


On the 23rd of December, Naughty Noddy Burger brought a bag of chocolate coins for each of the boys, and tried to put them in their money boxes!!!


Thursday, 13 December 2012

On the 12th of December....

....Naughty Noddy Burger ate a clementine!!


On the 13th of December, Naughty Noddy Burger stole mummy's Gin!!!!!!!!! 


Tuesday, 11 December 2012

On the 8th of December, Naughty Noddy Burger read Cinderella to the Bears in the playroom. He actually wasn't discovered until lunchtime!


On the 9th of December, Naughty Noddy Burger sat in my bauble wreath


AND then there was a mishap. In the Elf on a Shelf book, it says not to touch him or his magic will leave. Because he is not a toy, he is a magical elf! But DS2 touched him! *gasp* 

So on the 10th of December, Naughty Noddy Burger didn't move. He sat on his shelf. and the children were sad. But on the doormat in the morning there were 3 letters from Santa (via the NSPCC for a donation but the children don't know that), and also a little note saying that Santa had noticed the magic go from the elf. So just this once he would restore Naughty Noddy Burger's magic until Christmas Eve when he would go home with Santa, as long as the boys didn't touch him again. 


Something tells me the book has caused more problems than the concept!


Anyway, on the 11th of December, Naughty Noddy Burger played with some new lego, which was an early birthday gift for DS2!